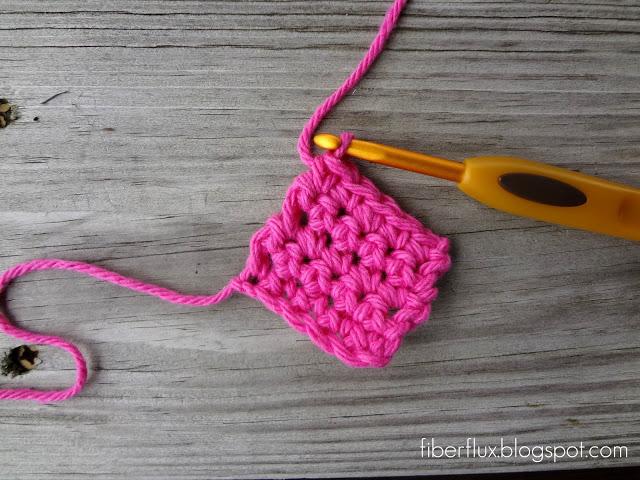
Are you new to the art of crochet? If so, you’ve come to the right place! Today we have 20 crochet tips for new crocheters to help you start getting the hang of it. If you’re not brand new to crocheting, stick around anyway. It’s always a good idea to see if there are any […]
20 Amazing DIY Bath Bombs
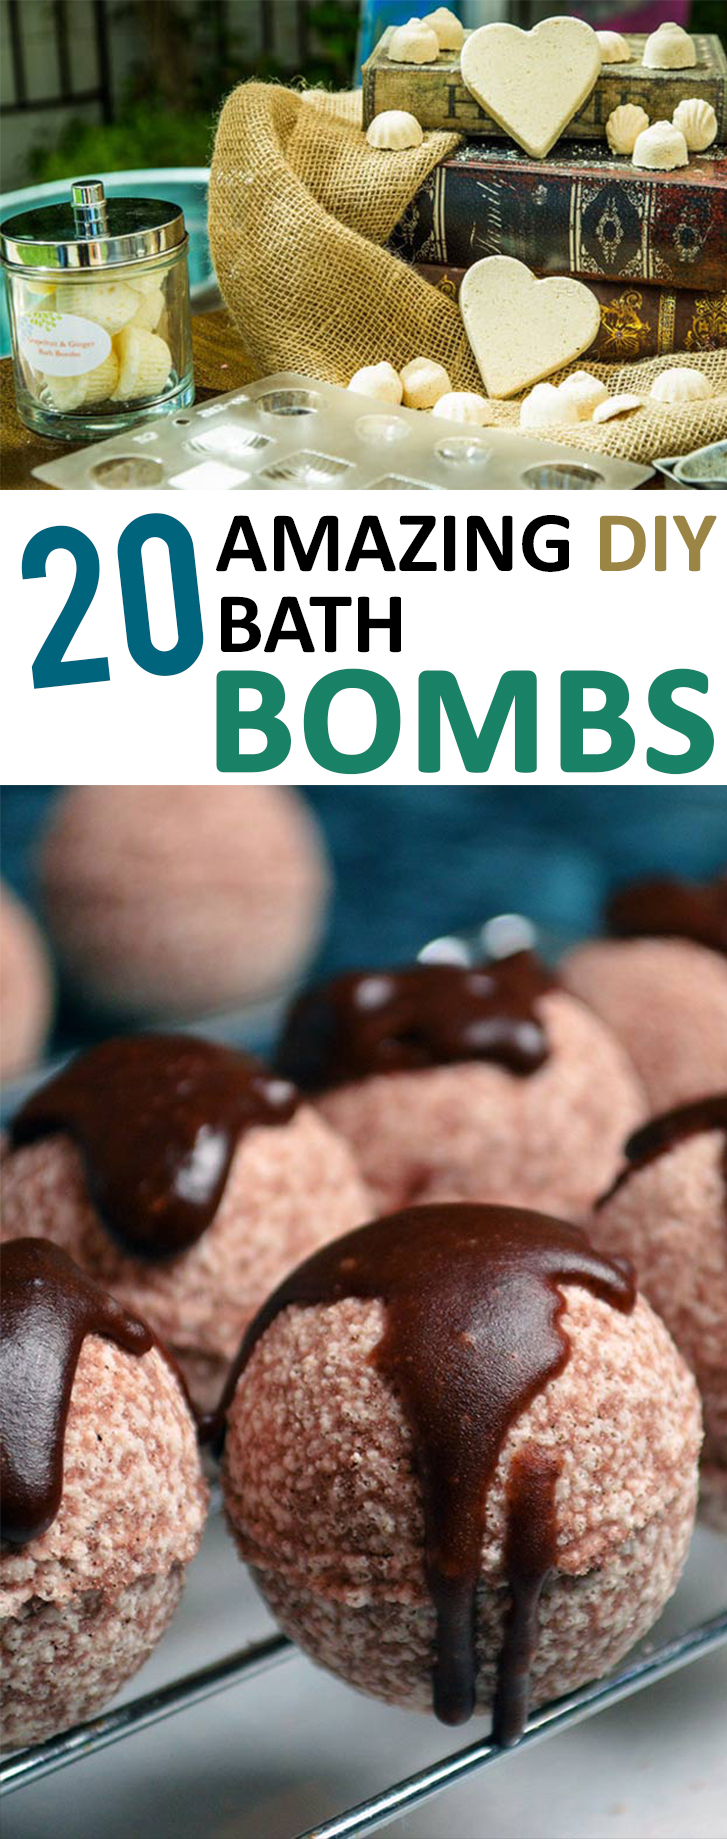
Need to relax more? First try these DIY bath bombs to make your tub time even better. Make your own peppermint bath bombs! This is great for the holidays and they smell so delicious. Lavender is one of the most relaxing scents. These bath bombs will help you relieve stress and tension, and may also […]
All About Flooring Decor: Don’t Get Walked All Over
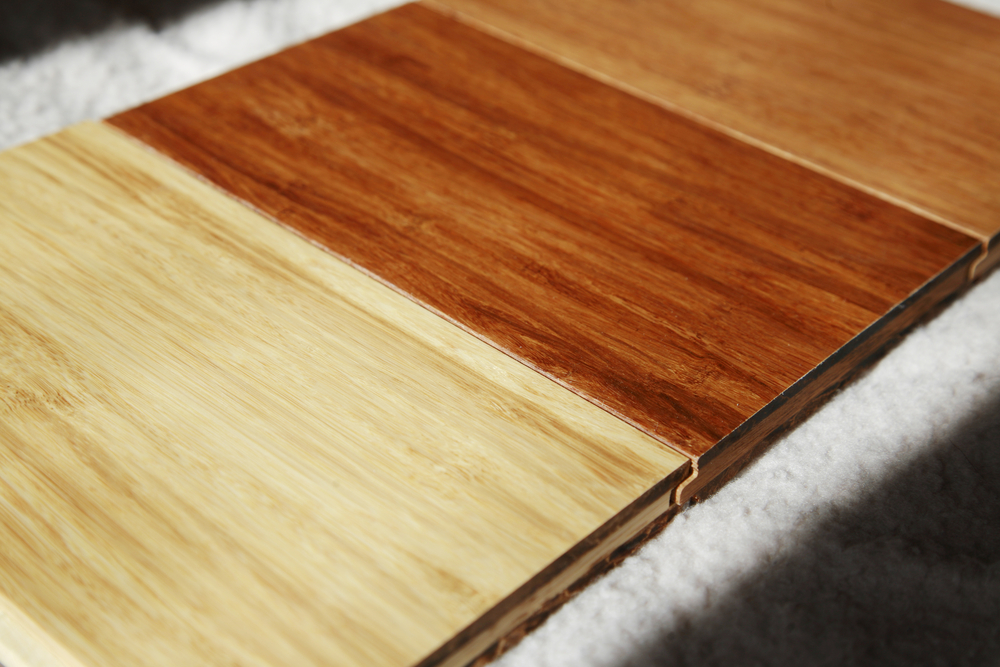
Choosing your home’s flooring décor can be tricky. There are so many choices to consider! But it’s about a lot more than just choosing from carpet, tile, wood, laminate or bamboo. When you choose flooring, you also have to take some important factors into consideration. Let’s talk about some important flooring décor points, so you […]
Must-Have Magnolia Home Decor
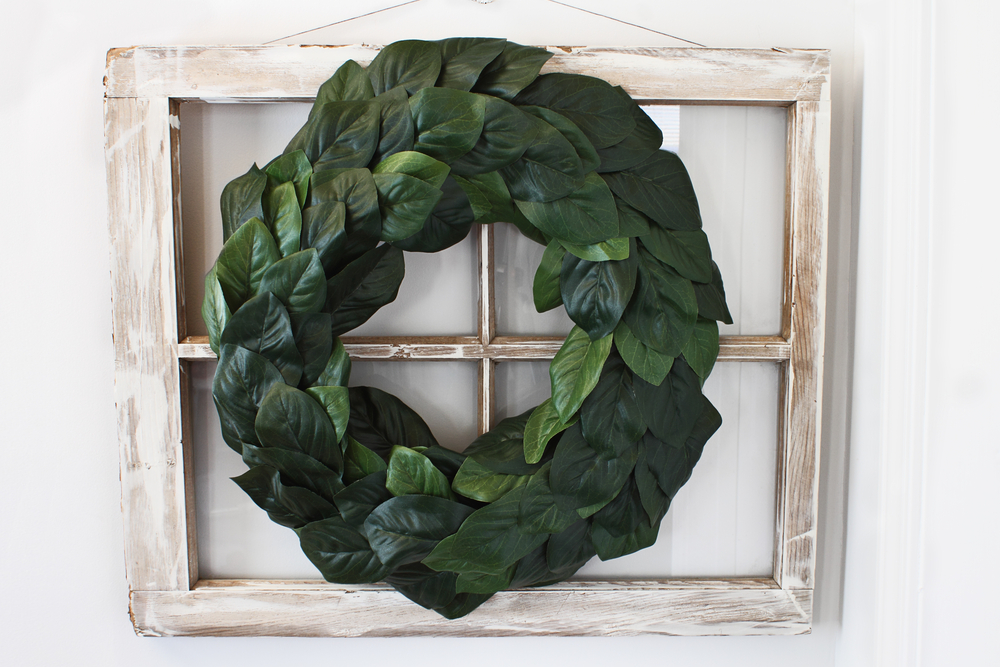
In decorating your own farmhouse home, if you’re interested in Magnolia home décor you’re not alone! Magnolia home décor is some of the most sought-after and pinned home décor inspiration on the internet. How do you sift through all that information and find the must-have Magnolia home décor? Let’s take a look! Hearth & Hand […]
12 Magical Ideas for St. Patrick’s Day

1. Once Valentine’s Day is over, make and hang a magical St. Patrick’s Day wreath. This one will help spread “the luck o’ the Irish,” and the best part is, it’s made with stuff you can find at your local dollar store. 2. Get some crepe paper from your local party store, and cut […]
What Color is Pewter? The Most Elegant Pewter Color List
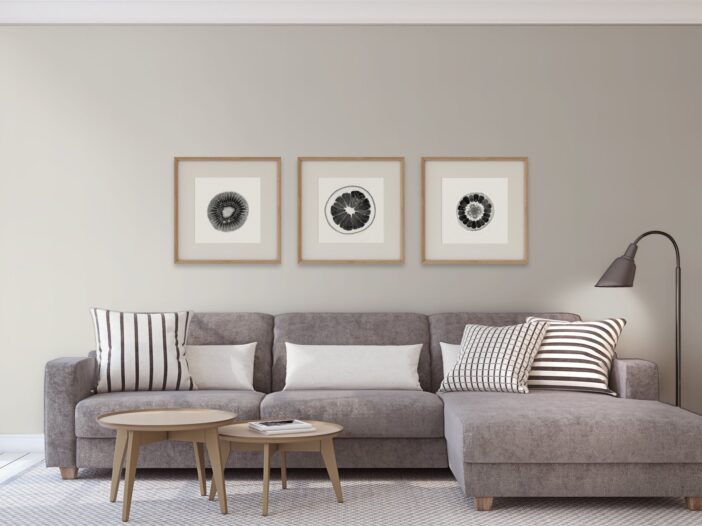
If the stack of sample paint colors on your table is overwhelming, consider pewter for a refined look. Color is vital to the tone and message of any space, and pewter is a sought-after paint choice that works with various surroundings. Pewter is not just a single color, but rather refers to a range of […]
Peel and Stick Backsplash Reviews – Are These Smart Tiles Worth the Hassle?
Home renovation can be a daunting task that takes time, effort, and a lot of thought. You can’t just incorporate everything available on the market; do your research, read reviews, and then make a judgment call. In this article, we will discuss peel and stick backsplash reviews and see if these tiles are the best […]
Japanese Home Décor – Deck Your Home out in an Authentic Japanese Style
Japanese home décor style is quite different from other Asian styles. It exudes simplicity, comfort, and modernity. Signature Japanese home décor elements include: Regular furniture shapes Efficient organization of objects Uncluttered living Ample free space Expansive windows Japanese color palette focuses on neutral colors. Naturally, lit-up rooms with a minimalist setting are characteristic of Japanese […]