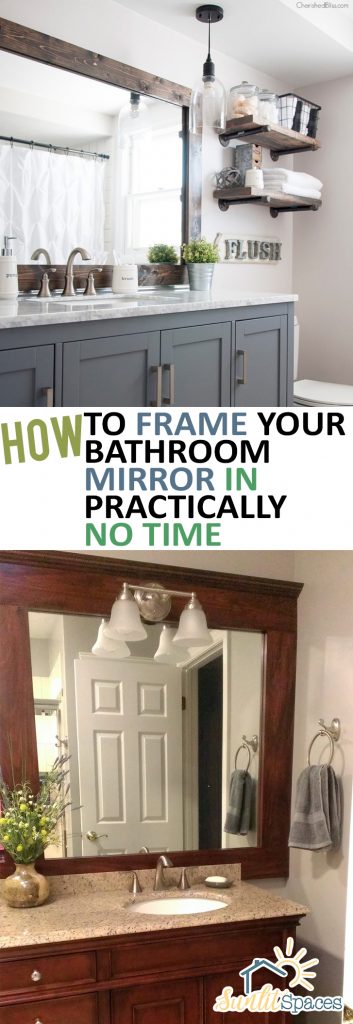
If you’re one of those homeowners with a plain mirror in your bathroom, this post is for you! You can easily frame your bathroom mirror in practically no time at all. This is a pretty simple update, with amazing results. Keep reading to see how easy this DIY project can be.

Before you frame your bathroom mirror, you need to know how big to make the frame. Be sure to accurately measure the height and width of the mirror. Keep in mind that if your mirror is exactly the size of the vanity, you will make the frame so that it fits over the mirror and doesn’t increase the size in any way.
Cut your chosen boards–two cut to the length of the mirror, and two cut to the width. The ends of the boards, in this case 1x4s, are going to be cut at 45 degree angles with a miter saw. Once you have the boards cut, it’s time to stain them. This can be done in any shade of your choosing. If you desire, you can paint them instead.
Make sure to allow your stained boards to dry thoroughly before proceeding. Turn the boards back side up, and apply wood glue to the corners. Hold each corner securely while you staple them with a staple gun.

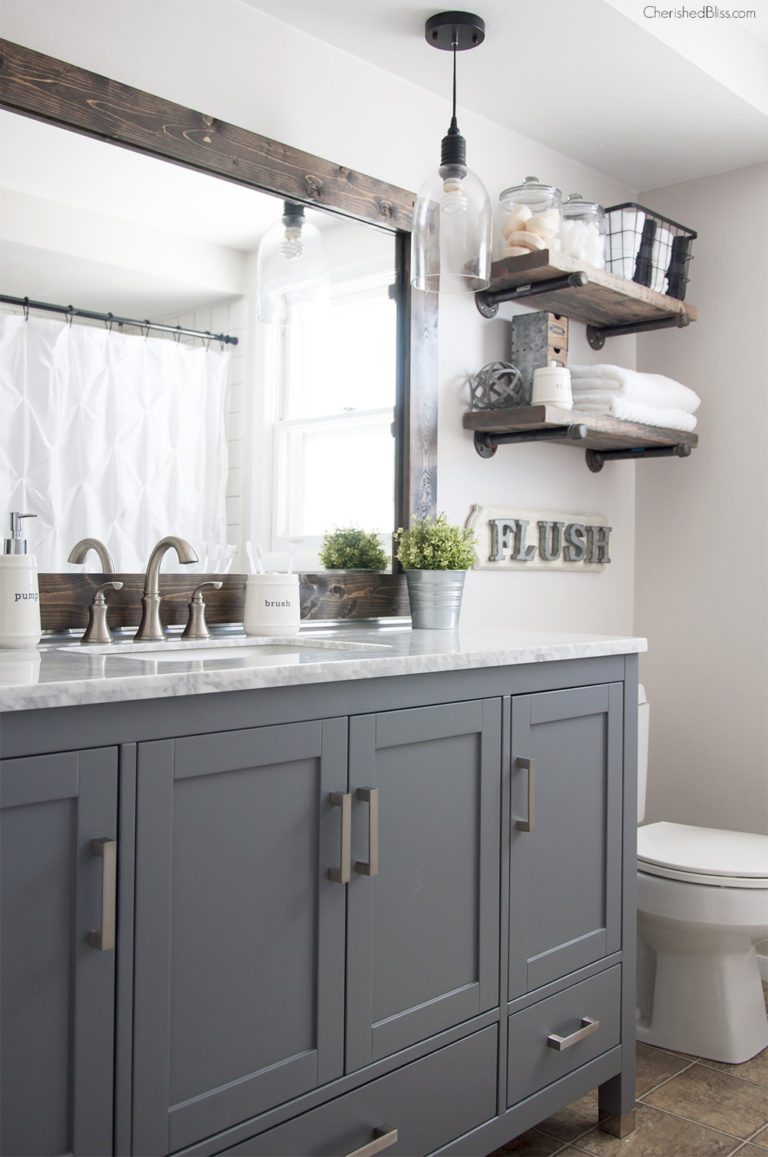
For extra hold, add L-shaped braces to each corner on the front of the frame. These can be spray painted black as was done over at Cherished Bliss.
Attach the boards to the mirror with clear silicone glue, and for extra hold use finish nails anywhere the frame meets the wall.
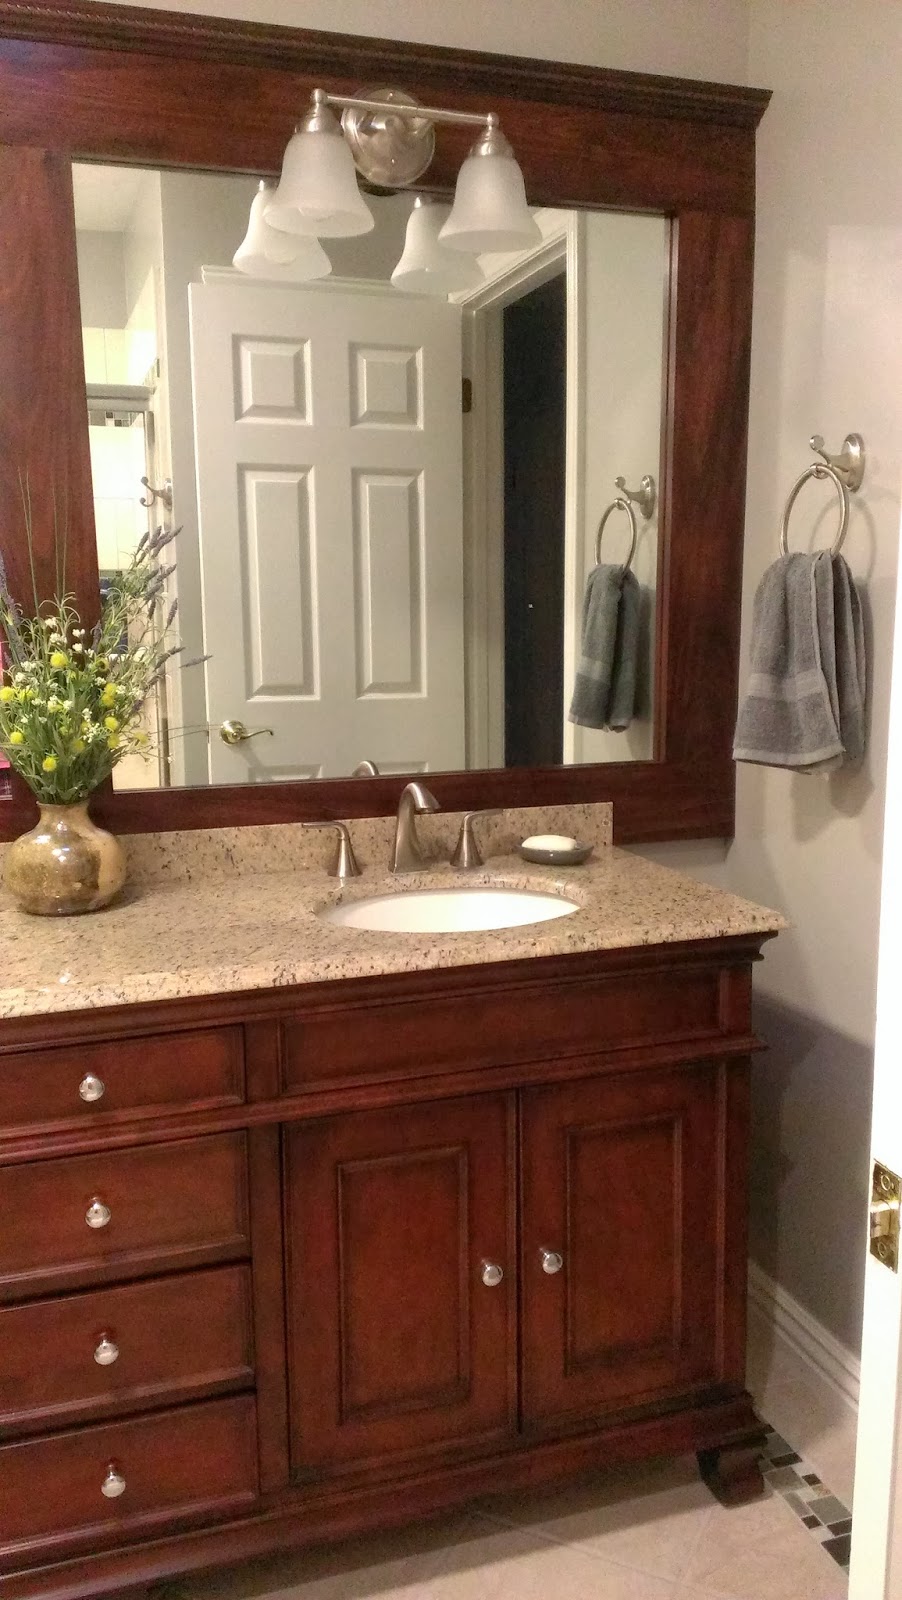
In another example, the homeowners framed a mirror with 1×6 poplar boards along the sides and bottom, with a 1×8 and crown molding on top. A 1×8 piece runs down the middle of the mirror, so that the one mirror looks like two.


Leave a Reply