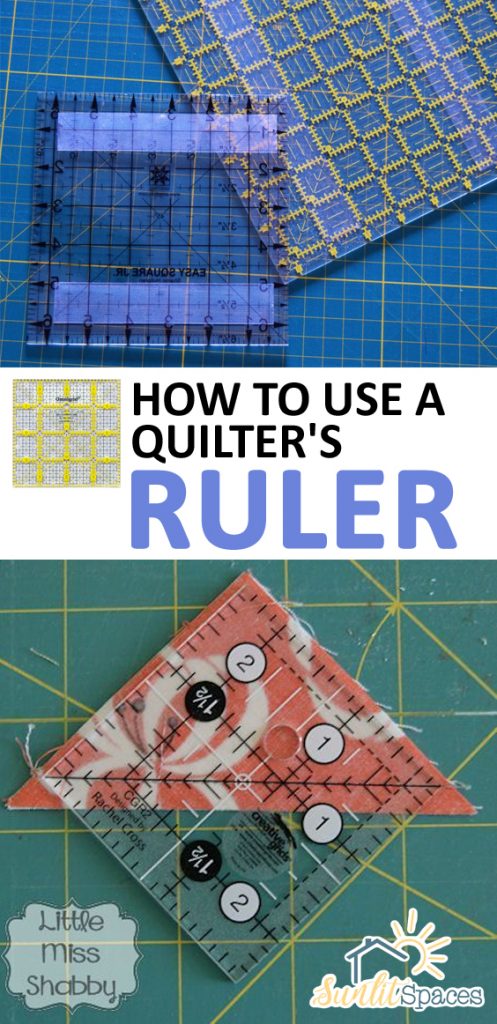
Here at Sunlit Spaces we’ve talked crocheting and sewing and shared some best tips for those. Today let’s talk quilting! If you’ve ever felt confused about using a quilter’s ruler, you’re not alone. But this post should help clear it up for you. Here are some handy tips to keep in mind when using a quilter’s ruler.
Pictured below is one example of a quilter’s ruler you can purchase at Amazon. Looking at all those numbers and grid marks, it’s easy to see how a quilter’s ruler can be so confusing! But you can see how the yellow lines clearly mark out some different sized squares, which makes it easy to cut fabric to just the right size for your quilting project.
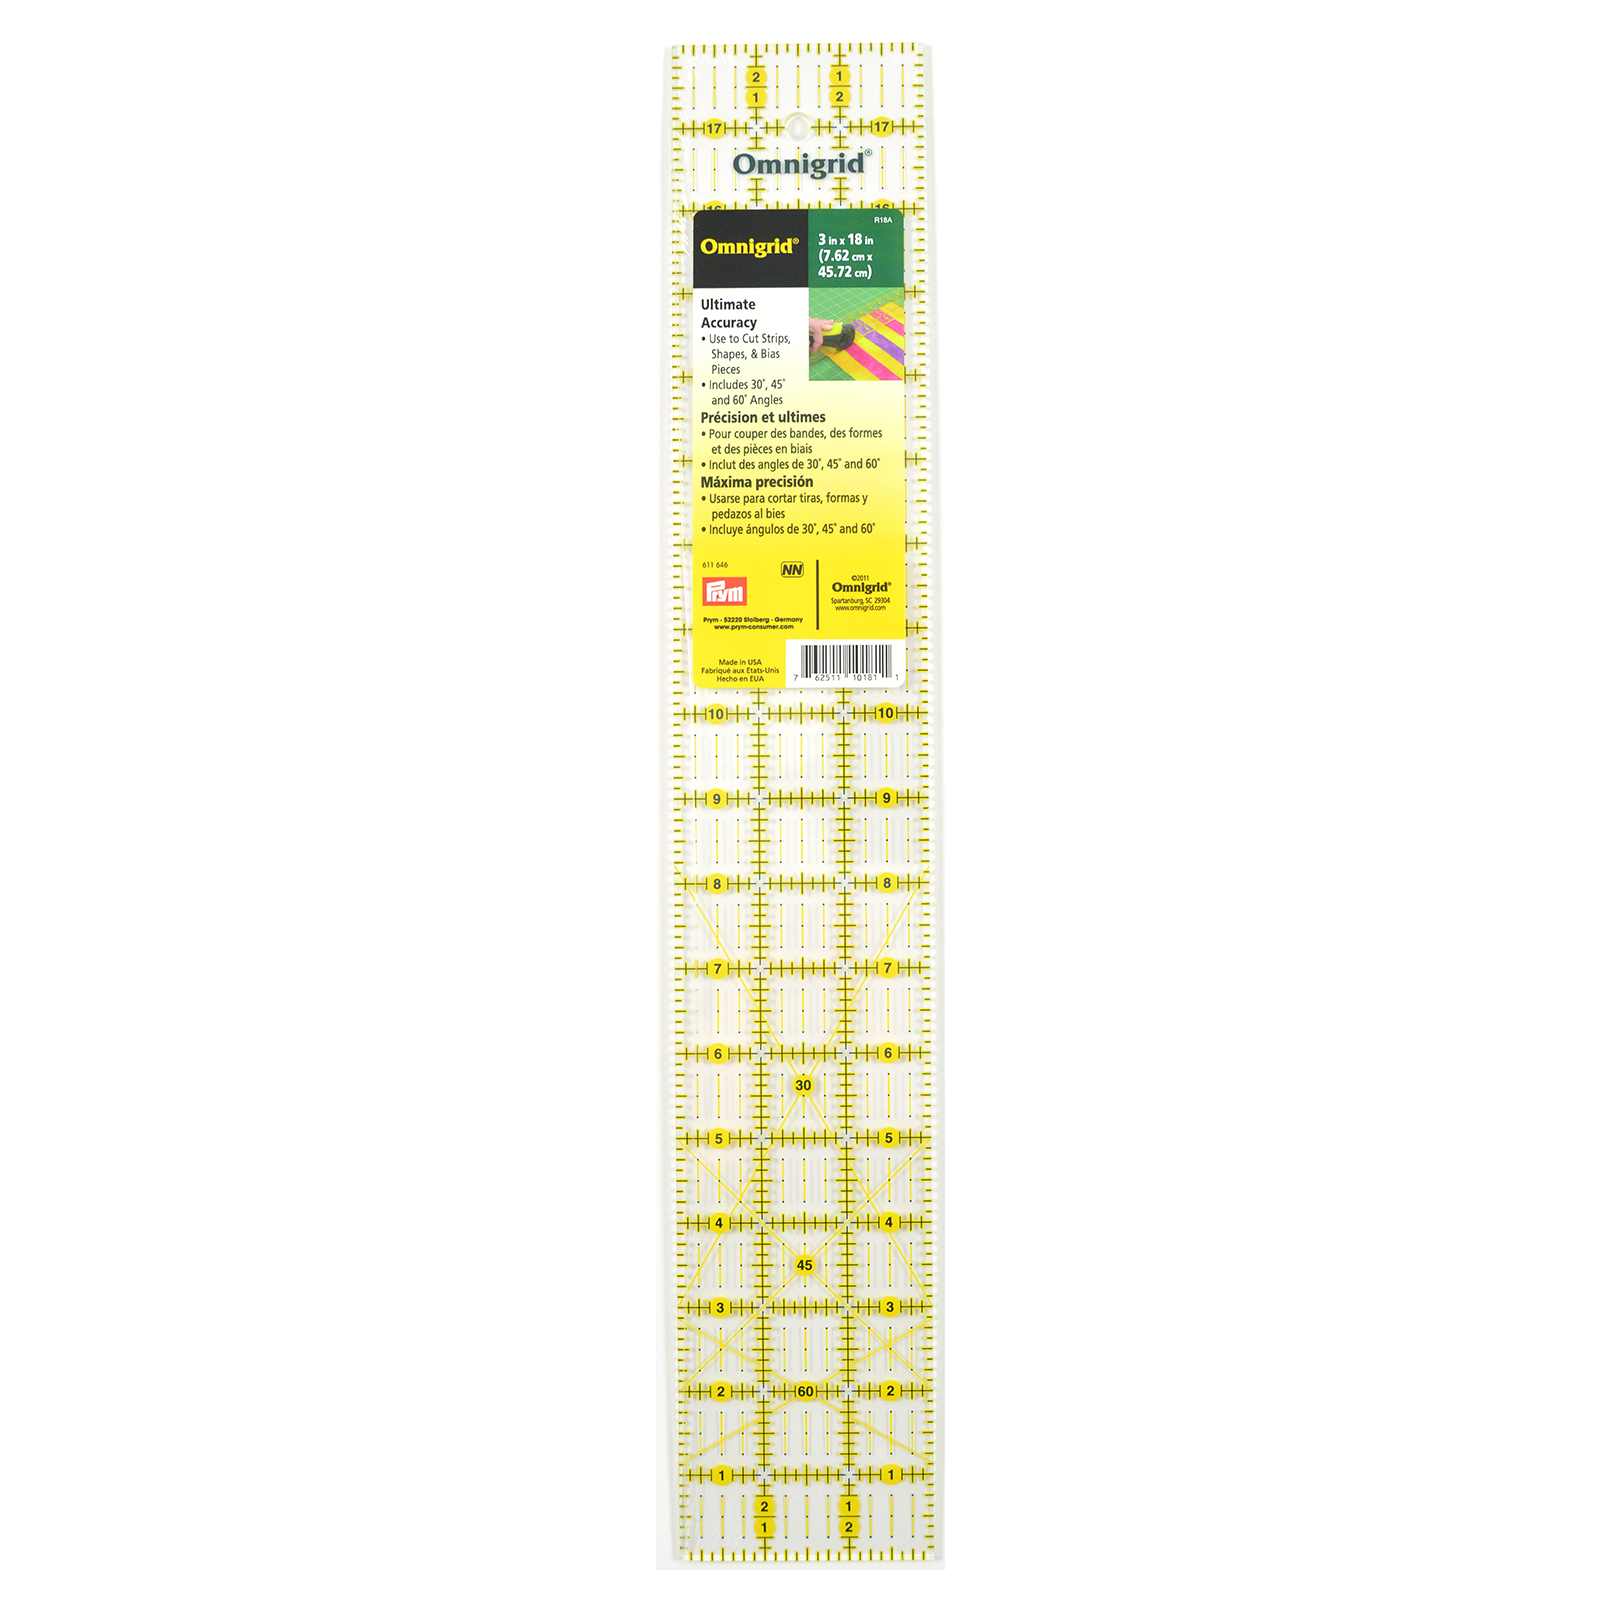
Quilt rulers also come in a long rectangular variety, like this one from Michaels. This type makes it easier to cut fabric in strips and not worry about straight edges. Whichever type you have, there are some simple things to know that will help you get the most out of your quilter’s ruler:
- Yellow grid lines on a quilting ruler mark inches, and the other marks are for smaller measurements.
- Diagonal lines on your quilt ruler are there to make cutting 30, 45 and 60 degree angles as simple as possible.
- A large square ruler {like the one pictured from Amazon) will also cut many different smaller size squares then just the ones highlighted on the ruler. All you have to do is make use of the center diagonal mark and go from there.
- Using a ruler that is sized the same as your project, such as a quilt made of 2.5″ Granny squares, makes trimming up your edges a no-brainer.
 Try this handy hack to make cutting a breeze. Apply medical tape to the back of your quilter’s ruler to stop it from sliding around on the fabric when you’re measuring and cutting. This is genius!
Since I am a visual learner, I’m sharing the link to a very helpful video by National Quilter’s Circle. Check it out!
Also, special thanks to Little Miss Shabby and Stay at Home Crafter for the handy tips.


Leave a Reply