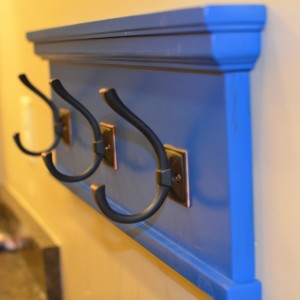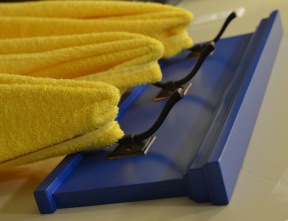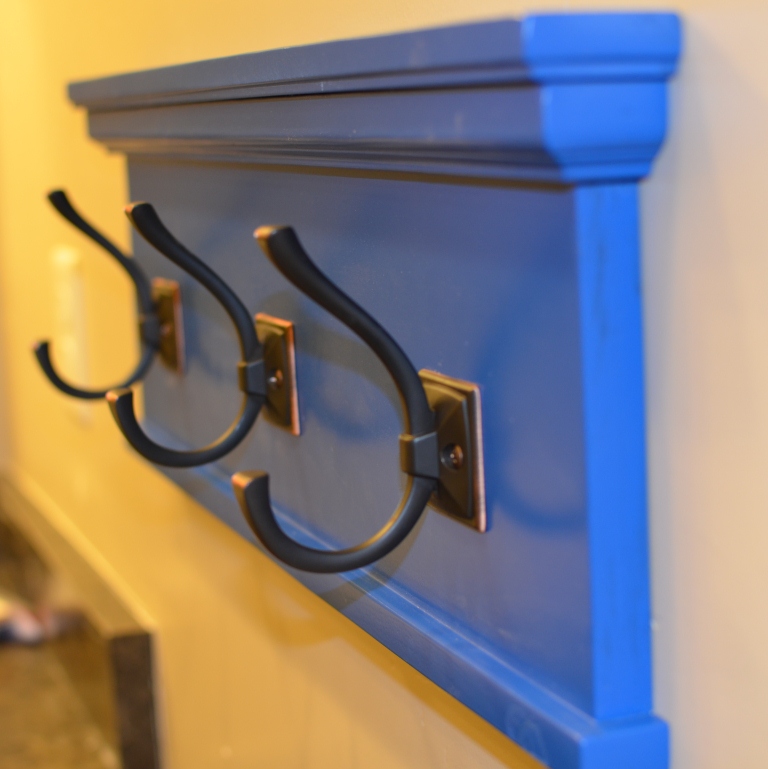
We are currently giving our kiddies bathroom an overhaul and wanted to get away from the standard towel rod from home depot. We decided to make a towel rack from wood and hooks instead to be able to match the bathrooms design.
So, my amazing husband put this together (not that you need some “man” to do this. I just happen to have one here that likes projects!) Here are his steps to make this towel rack easily and very inexpensive!
There are two ways to make this. Here is the complicated my-husband-is-OCD process. Don’t get worried if you are not that person. He has included the much easier “semi-homemade” version below.
Step One
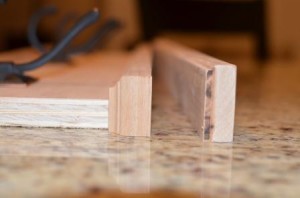
I started with a piece of paint grade wood material (I used a piece of Maple plywood I had left over from a previous project.) If you want to use a lower grade plywood, I recommend using a wood filler to smooth out the sides of the plywood.
Step Two
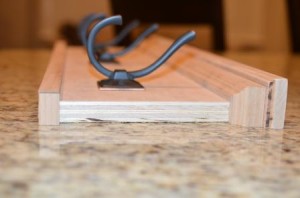
I put a cap on the top that had a slight overhang to the trim underneath. I routed the underside of the cap with an 1/8” round over bit, that was set slightly beyond the 1/8” to add a little larger profile. I nailed it into place with a bead of glue underneath the cap.
Step Three
Next, cut and nail the trim in place using a 45 degree cut on each corner, place a bead of glue behind the trim. I used a classical router bit for my trim.
Step Four
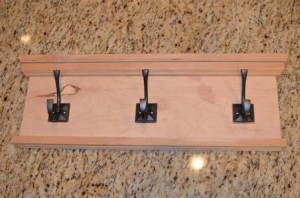
And lastly place your trim on the bottom of the towel rack the same as the previous trim, using a small bead of glue and small nails. I actually used a wire nailer (23 guage) for this project, it is a great tool to have. I have the porter cable, which has always worked well for me. They leave almost no mark behind after shooting the nail.
Step Five
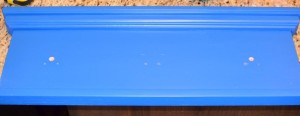
Next I painted it a using Krylon spray paint. For those of you that follow my blogs, you will know I am not big on the spray paints. But for this project I did not want to get all of my spray tools setup so I decided to go the spray paint route. Well… It turns out that you must use a primer for the standard Krylon paints at Wal-Mart (I did not), also that they do not work well in colder temperatures (I sprayed mine in the garage when it was about 15 degrees Fahrenheit outside. What happened was I had major bubbling all over and I was able to take a wide wood chisel and just scrape all 3 layers of paint off in a matter of 20 minutes. The second go around, I used primer, a blue krylon paint, and a matte finish clear coat. I did it in about 60 degree temperatures and had no problems with the paint.
Step Six
Here is my favorite trick of all, once you install your hooks take off one from each end and drill a countersunk hole right in the center of where the hooks were located, and make it large enough for your mounting screws to go through.
Last
Next hold the towel rack up where it will go and push the two mounting screws into the sheetrock and take it down. Now just install two sheetrock plugs in the marks from the screws, and install the towel rack. Once it is secured you can put your two hooks back on over the mounting screws and it will be very secure and tight against the wall.
Now, here is the much easier version of the same thing!
Go to Home Depot and buy a piece of scrap wood, and have it cut to the size you want it. The Home Depot close to me does the first 10 cuts for free, so check with your local store. Then, buy a piece of trim and have it cut to size as well. Once you have those, and the hooks you can follow the steps above. This is a much faster and easier DIY version than the one above. If you have the tools and scrap wood, you can follow the above process very quickly and not have to spend any money, which is why we went that route.
Isn’t their bathroom going to look cute? I will save the other pictures for the master reveal!

