Stenciling can be a fun activity that you can do with family, friends, or your little ones. It can be a fun and recreational activity but also highly brainy. Admittedly, stenciling was big way back in the 90s. However, with today’s growing stenciling trend, many are inspired to get back into it again. This article will walk you through the steps of making your own DIY stencil at home. Importantly, you do not need any costly tools or gadgets to make it happen. So, let’s get into it!

Today, you can easily find tones of geometric designs on Photoshop. Furthermore, you can use platforms like the Royal Design Studio or The Stencil Library as well. However, if you’re looking into a DIY stencil project, you probably won’t have any luck here.
You may, like many people, be far too impatient to wait on days or weeks of delivery. Importantly, you could use this time, or even less, to make your own DIY stencil. Thankfully, making a DIY stencil is super easy and also fun.
Step One – Find a Pattern You Love
There is no shortage of places where you can find inspiring patterns. For one thing, Photoshop has various shapes that you can use to make a virtual pattern. Moreover, you can find inspiring patterns in books, china, wallpaper, upholstery, and online.
Whatever tool you use, you can print the chosen pattern out to the exact size you want your stencil to be. In doing so, you can then print a border around the stencil design. Importantly, this will give you a guide to trace later on.
Finally, you can even create your stencil design on Photoshop and print it out if you are artistic. Undoubtedly, drawing a freehand design takes more effort than finding a design online. However, for the creative types, this shouldn’t be a problem. In fact, it may make the process even more fun.
Importantly, try to choose or draw a pattern that has disconnected parts to it. If not, you will need to draw them in yourself.
Step Two – Line Up Your Stencil Design and Mylar Sheet
This is probably the easiest part of DIY stencil making. For this step, you will need a Mylar sheet, a ruler, and some tape. However, if you use a craft or cutting mat, you won’t need a ruler since they usually have ruled guides. Conversely, if you are using a piece of cardboard instead, you will need a ruler.
Line up your stencil design with the Mylar sheet, craft mat, or cardboard. To secure, tape the stencil design in place.
Step Three – Trace Your Stencil Design
To trace your DIY stencil, use a sharpie or a fine tip marker. Using these tools, start tracing out your stencil design. This is where you can take your time and have fun with it. Accordingly, you can do multiple iterations or move your pattern around to get super creative with it.
The tracing step will make you feel like a kid back in grade school again. Here, you can use a ruler to trace the straight lines while going freehand for everything else. Notably, one tip that works for some people is to apply more pressure to the marker. While it may not work for everyone, it helps some people draw better freehand lines.
Importantly, make sure you take your time with this step and have fun. Also, don’t worry too much about making mistakes, especially if you are using Mylar. Thankfully, a permanent marker wipes off of Mylar with minimal effort. All you need is a Q-tip and some rubbing alcohol.
Step Four – Cut Out Your Traced Stencil Pattern
Once the design is traced, you can cut out the stencil pattern to produce your DIY stencil. While kitchen knives are readily available, they do not get the job done well. Instead, try using an Exacto knife, which may take more time but is much more precise. Accordingly, a 3ft by 2ft stencil should take close to 3 hours to cut out.
Notably, the key to an excellent DIY stencil is to use a super sharp blade and a steel ruler for straight lines. Moreover, the Exacto knife is designed to work best when stable pressure is applied. Finally, when you have cut out the entire pattern, pop the cut-out piece without ripping the Mylar.
Congrats, you have just made your very first DIY stencil with little to no cost incurred.
Step Five – Your DIY Stencil is Ready for Use!
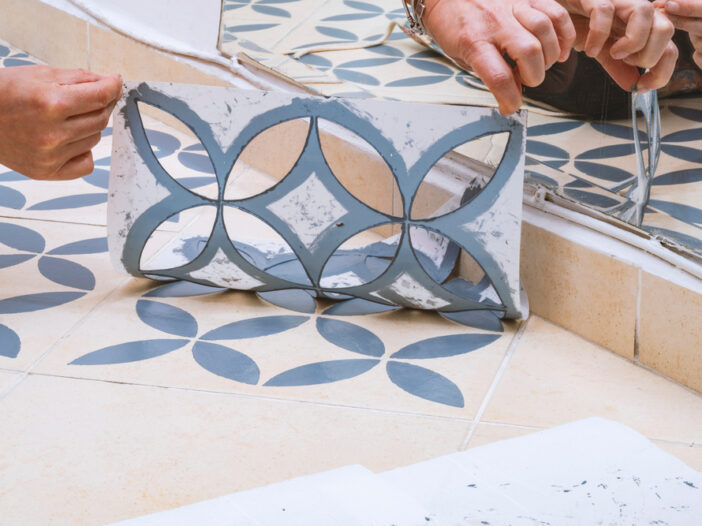
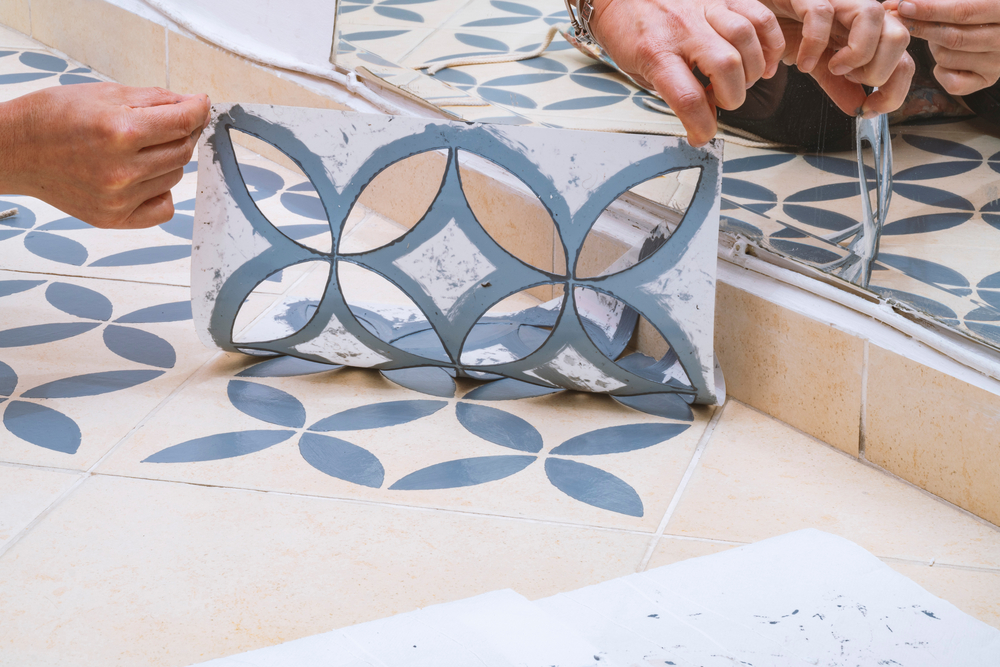
Once you have cut out all the pieces, your DIY stencil is ready to be used. Easy, wasn’t it? Now you can use your stencil to create your beautiful pattern anywhere you like.
The Pros of Making a DIY Stencil
Below are some of the pros of making your very own DIY stencil
It’s a Custom Original
For a DIY stencil, you get to choose your favorite design and customize it to your liking. Moreover, you can easily adjust the design to make it the size you want it to be.
It’s Reusable
Notably, just like any store-bought stencil, your DIY stencil can easily be used over and over again.
Saves Time
Although it takes time to complete a DIY stencil, you don’t have to spend days waiting on delivery or searching through craft stores.
Inexpensive
You won’t find a more affordable stencil than the one you make yourself.
The Cons of Making a DIY Stencil
Below are some of the cons of making a DIY Stencil.
Time
You will have to set aside at least a day or two to choose, trace, and cut out your DIY stencil.
Requires a Steady Hand
Although you will have fun making it, a DIY stencil can never be as perfect as a machine-cut stencil.
Changing Blades
You will probably need to change blades a few times due to the pressure applied while cutting
Final Words
Stenciling is a great hobby to have and can be a great bonding activity for you and your little ones. Sure, you can buy the tools for machine-cut stencils. However, the old-school method of making a DIY stencil is much less of an investment and much more of a creative enterprise.
Leave a Reply