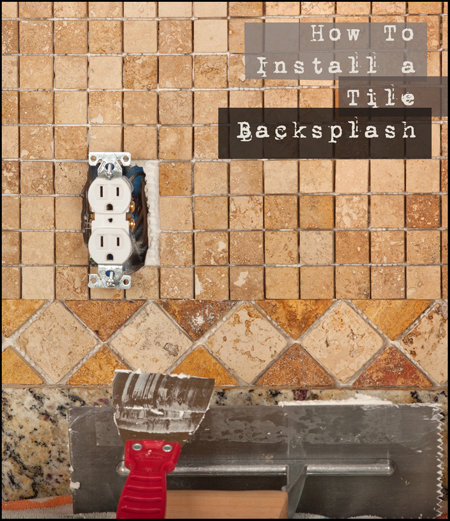
Love the look of a glass tile backsplash? Don’t want to pay hundreds of dollars for a pro to install it? You’re in luck! If you follow the five steps in this simple tutorial, your kitchen of bathroom will feel like a new room. And the best part? You did it yourself!
- Dry fit the tiles to determine the best layout. You want to minimize the amount of tile cutting you have to do and avoid little slivers of tile. Allow 1/8 inch space for grout lines—you can use spacers between the tiles to keep a consistent space.
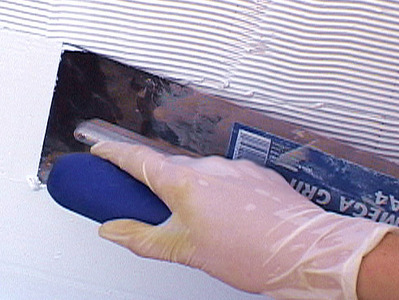
- Protect the countertop’s edge with painter’s tape and apply WHITE (any other color might look ugly showing through) tile mastic adhesive to the wall using a notched trowel. Don’t apply too much mastic at once because you don’t want it to dry before you can get the tiles on it.
- Smooth out the ridges in the mastic using the smooth part of the trowel, then apply sheets of tiles to the mastic, keeping in mind your layout. Press each tile firmly in place. Tip for setting tiles in place: Place a small piece of wood over the sheet and gently tap with a hammer.
- For trimming down end pieces of tile, use a wet saw or Rubi cutter. Polish the raw edge with a grinding stone.
- Once the adhesive has cured, apply grout in the cracks. Use unsanded grout so it doesn’t scratch the tiles. Gently apply the grout with a float. Once dry, wipe off the tiles with a wet sponge. Once the grout is dry, polish the tiles with a soft cloth.
If you need some basics on tile, check out this video:
https://www.youtube.com/watch?v=HIyIGJcJejU

