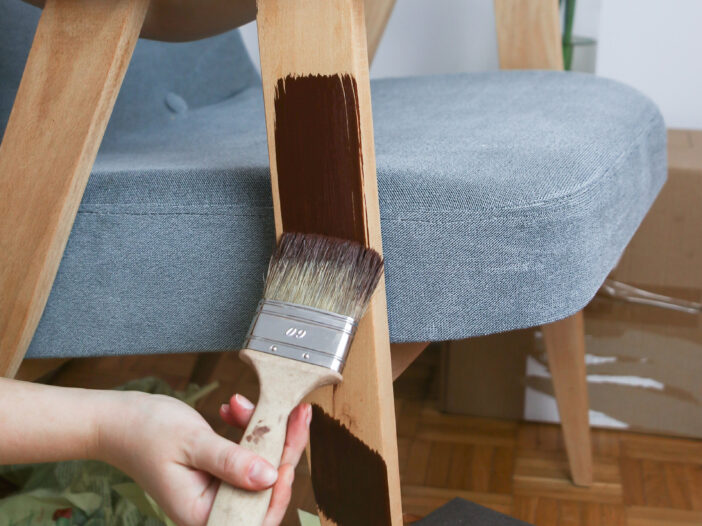
Having bold pieces of furniture around your house builds character and gives your space a grand feel. However, buying solid wood pieces such as a dinner table, chairs, bed frame, etc., can be expensive.
If you wish to enhance the look of your laminate furniture pieces, you’re at the right place. You can use paint that looks like stain to give your furniture a grainy texture.
The Faux Bois finish is a painting technique. It’s French for false wood, which creates a natural wood-like finish on non-wood surfaces.
One of the greatest qualities of this paint that looks like stain technique is that you can do it yourself at home.
You can also control the density of color by adding texture to flat surfaces. All you need are two types of latex paint and an acrylic glaze. This will give any piece of furniture a grand, wooden look.
Tools and Material You’ll Need for Paint That Looks Like Stain:
- Sanding block & fine-grit sandpaper
- Painter’s tape
- Microfiber cloth
- Wide bristle paintbrush
- Synthetic bristle paintbrush
- Paint roller & covers
- Oil-based primer
- Clear acrylic base
- Latex paint (two tones)
- Paint mixing jar
- Paint pans
- Paper towels
- Woodgrain rocker
Step 1 – Prepping your Workspace
Before painting, prepare your working station with painter’s tape. Then, remove all hardware decor from the furniture piece. These include knobs, hinges, handles, etc.
Prepping your workspace and laying out newspaper and cloth will prevent the paint from ruining your floor.
This will make cleaning up much easier as all the debris and paint will accumulate in one place.
If this is your first time painting furniture or attempting the faux bois technique, practice on a piece of wood first. You can test out the techniques and what to do by attempting to paint your sample board.
Step 2 – Sanding your Project
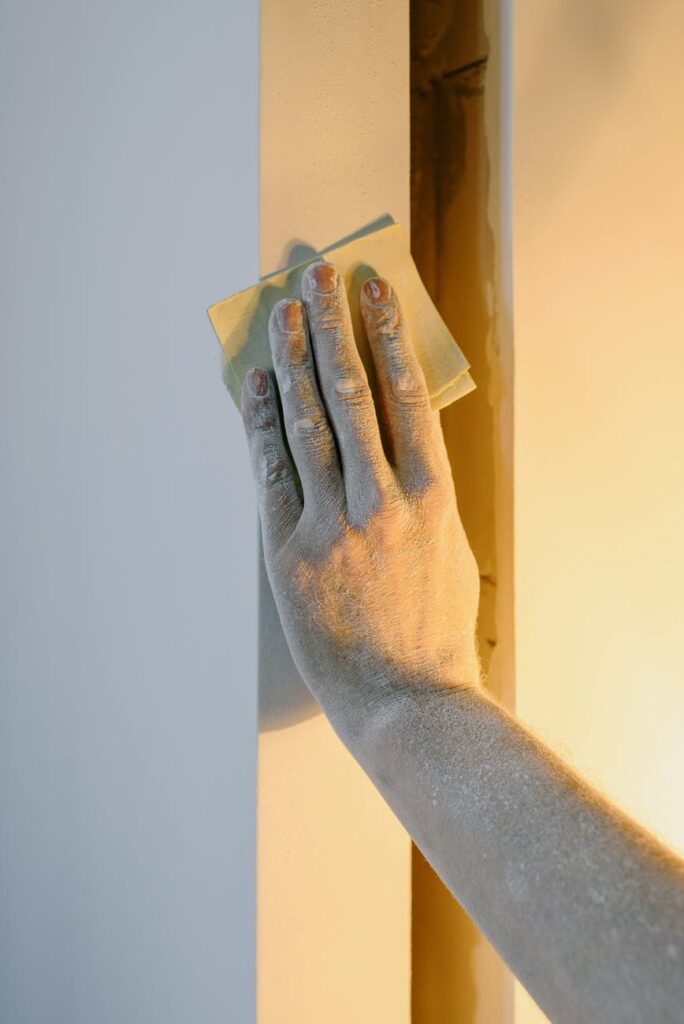
If you’re re-doing engineered wood such as plywood, you should lightly sand the surface of your furniture with a sanding block or grit sandpaper. This will help level out your furniture for any upright fibers.
Once you’re done sanding the surface, take a clean cloth and dust off the excess particles. Sanding helps even out the surface and allows the paint to sit nicely.
Step 3 – Priming your Project
If you’re working with engineered wood, then apply a coat of white primer after sanding. You can use a natural bristle brush or a paint roller for this purpose.
Some material like MDF wood tends to absorb water and can expand and contract when there’s a change in temperature.
For instances like this, go for an oil-based primer and coat the top layer of your furniture piece.
Before you begin painting using your paint that looks like stain, make sure the primer has completely dried out.
Step 4 – Painting
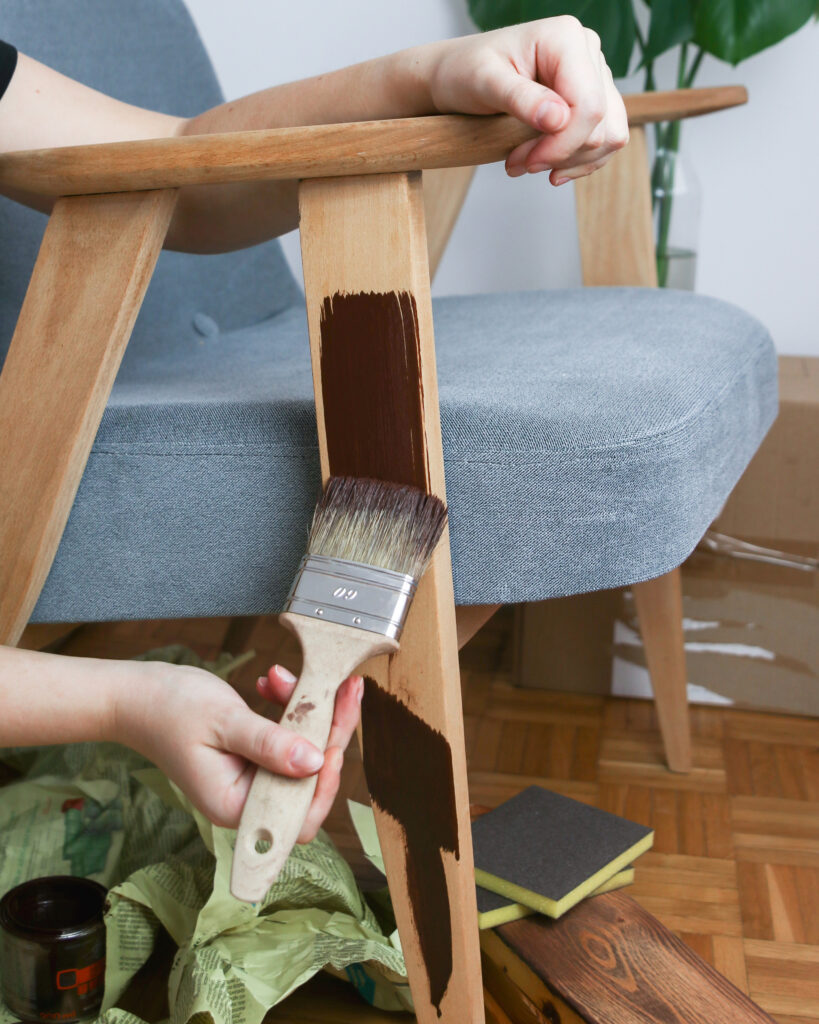
Once the surface is fully coated with primer, you can begin painting the first layer using wood-toned paint that looks like stain. Using latex paint will allow the surface to resemble any shade of your desired wood.
If you want to give your project a deep, rich look, go for coral or a dark red shade.
If you want your project to resemble a lighter shade of wood, you can opt for a shade of orange or yellow gold. For a complete block finish, applying two coats of latex paint using a synthetic bristle brush is recommended.
Wait for the first layer to dry before painting the second coat.
Step 5 – Preparing the Glaze
Once your piece is completely dry with the first two layers of paint that looks like stain, you can now move onto the faux bois technique. Combine the two in a mixing jar with equal parts of the clear acrylic glaze and the second latex paint.
When selecting the second shade of acrylic paint, try to go for a darker shade than that of the base coat. If you are going for a colored base, such as green or yellow, then the other paint should be black or brown, making the project pop.
Once the latex paint and acrylic glaze are fully combined, apply the glaze to your project and make sure that the base layer is still visible.
If you want to go for heavy grains, you can either take the same color or go for a darker shade after the first layer of grains has dried. Repeat the same process as you did the first time.
This time, keep your strokes light, so the layer underneath is still visible.
Don’t be worried if the wet paint looks too dark; almost all paint stains become lighter once the paint has dried.
Step 6 – Adding Wood Grains
To begin adding the wood grain texture to your piece, grab a paint pan and pour the glaze you prepared into it.
Using a synthetic paintbrush or a microfiber cloth, dip your tool in the glaze and begin painting section by section using long horizontal strokes.
Creating wood grains normally takes two layers to give it the desired effect. To paint the first layer, take your paint and cover the entire surface with it. Once it is covered, take your brush to the top and move your hand from left to right.
Start from the farthest edge and move along till you reach the other edge of the surface. Make sure not to lift your hand during this process; otherwise, there will be breaks in the paint that looks like stain, giving an uneven look to the final product.
In simple words, you have to move your hand from left to right using long strokes.
After every few strokes, get rid of the excess paint that looks like stain. You can do this by dabbing your brush on a paper towel or a paint cloth. This will help give an even grain effect. Once the first layer of grain dries, you can work on the second layer.
This will give your piece a deeper look. Repeat the same steps as mentioned before, keeping a lighter hand as compared to the first layer. This will allow the grains of the first layer to still be noticeable.
When it comes to adding grains, always remember to move your strokes in one direction. If you paint it in different directions, your piece won’t just look appealing but will also give your paint that looks like stain an unfinished look.
Step 7 – Variations of Grain
While the glaze is still wet, you can change the direction of the grains by moving your hand in the opposite direction. You can create different forms of wood grain by incorporating arches and fine lines.
Step 8 – Adding the Clear Coat
Now that you have your newly transformed piece of furniture, you should to protect the faux finish using a clear coat. Before adding the clear coat, wipe off your piece with a clean cloth to get rid of any dust.
Using a foam brush, coat the entire piece with the clear coat and move your hand in the direction of the grain.
Once you apply the clear coat, you will notice that it has accents of white-blue tint, but it will turn clear once the coat has fully dried. Using foam brushes is better than using a polyester brush because it has a smooth application, and you can easily clean it with warm water.
Step 9 – Reattach Hardware
Once you have your desired results, let the glaze dry fully before reattaching all the hardware. You have your finished, newly refurbished furniture piece.
Picking a Stain Color
Wood comes in a variety of shades and colors. Some are dark, while others are on the lighter side. There are hundreds of options to choose from, but we have compiled a list of six top stain colors that will completely redefine the look of your furniture.
You can pick any of these colors when you’re looking to work with paint that looks like stain.
· Dark Walnut Stain
The deepest shade of brown, which will give a bold look to any piece. You can have this look by getting a base coat of tortilla brown and two shades of walnut brown and black paint for the grains.
· Rustic Mahogany Stain
One of the most popular finishes of wood that can elevate the theme of any room. Like a dark walnut stain, this finish is achieved by having one solid base coat and a combination of two tones for the glaze.
The base coat can be a warm beige shade, with two tones of dark brown and coffee-colored paint for the glaze.
· Driftwood Faux Stain
If you want the look of a rustic farmhouse or coastal feel, this washed look of light gray stain over a teal or turquoise base will be the focal point of your room.
There is an added step for faux driftwood stains – it involves using white paint and a dry brush to give a finished look.
Your base color can be any shade of teal, and for the glaze, you can opt for a dark brown shade.
· Barnwood Faux Stain
This paint that looks like stain is perfect for traditional-looking furniture. You take your base coat of dull gray paint and the glaze and make dark and light shades of brown.
· Brown Oak Stain
This stain brings out the best results if you’re going for a rustic vibe. Take a light beige shade of brown for the base coat and mix your acrylic glaze with a dark, hickory brown latex paint for the grains.
Once you have finished painting your furniture and making grain strokes, you can add the clear coat once it’s dried.
· Early American Faux Stain
A warmer version of the brown oak stain, but it gives off the same rustic touch. For your base coat, you apply a layer of light brown paint, and for the grains, you go a medium-dark shade of brown.
Hacks for Easy Wood Stain Paint
Now, we know that the steps might seem daunting to you – after all that effort, what if the grains don’t come out nice? Don’t worry because these simple hacks will give you the look you need with minimal effort.
· Wood Grain Pattern Paint Roller
These patterned rollers are a lifesaver when it comes to DIY projects. You can get amazing results and defined wood grains with this silicon roller.
It comes with and without a handle, and it can be used for walls, furniture décor, ceiling application, and even fabric.
After your base coat has dried and you’re ready to add the grains, take your glaze and spread it across the surface. Use a flat scraper and press down the glaze, so the excess falls off the corners.
Once the surface of your piece is fully covered with a layer of translucent glaze, take your wood grain pattern paint roller and roll it over while it’s still wet.
The gaps in the silicon roller give the look of full grains, and you can use it with any medium. If you want to give more depth to your surface, roll it over again over the first layer of glaze.
· Rubber Wood Graining Tool with Comb
This handy tool comes with a plastic handle with an embossed pattern of wood grain on its head. The swirly lines and a pointed-tooth comb are perfectly designed to give you a natural wood grain look to any surface.
Once your surface is covered with a thin layer of glaze, take the grain tool and place it on the corner edge of your piece, stamp it on the surface, and run your hand along the horizontal axis.
The comb with help create straight lines, and the patterned top will give the grainy texture. Finish it up with a clear topcoat, and you have a brand-new furniture piece.
Use a Hot Glue Gun
If you want to go total DIY and make your own graining tool, all you need is a hot glue gun and an old paint roller. Take your paint roller and wash off any excess paint that’s on there.
Next, you take your hot glue gun, and from one end of the roller, start pressing the glue while you rotate the sponge of the roller.
Make a spiral pattern from one end of the roller to the other. Wait till the glue dries completely and use the roller over the glaze. If you’re already feeling crafty, you might as well have a mini DIY project too.
Ending Remarks
This was an article on everything you need to know about paint that looks like stain. You also know how to give your shabby old table a complete makeover.
From the tools you need to the type of paint and other materials – you’re just one trip to home depot away from revamping the look of your beloved furniture.
A wood stain look gives an instant rich vibe. Also, you can easily achieve this look with two shades of latex paint and acrylic glaze. Make sure to prep the surface with sanding paper. Let your base coat dry before using the faux bois technique.
You can go for natural grains using a bristle brush or get your hands on easy tools to give a uniform finish. Coat your project with a clear layer to prevent the wood stain paint from chipping.
Place the furniture in its desired location and give yourself a pat. After all, you’ve used paint that looks like stain the right way!

Leave a Reply